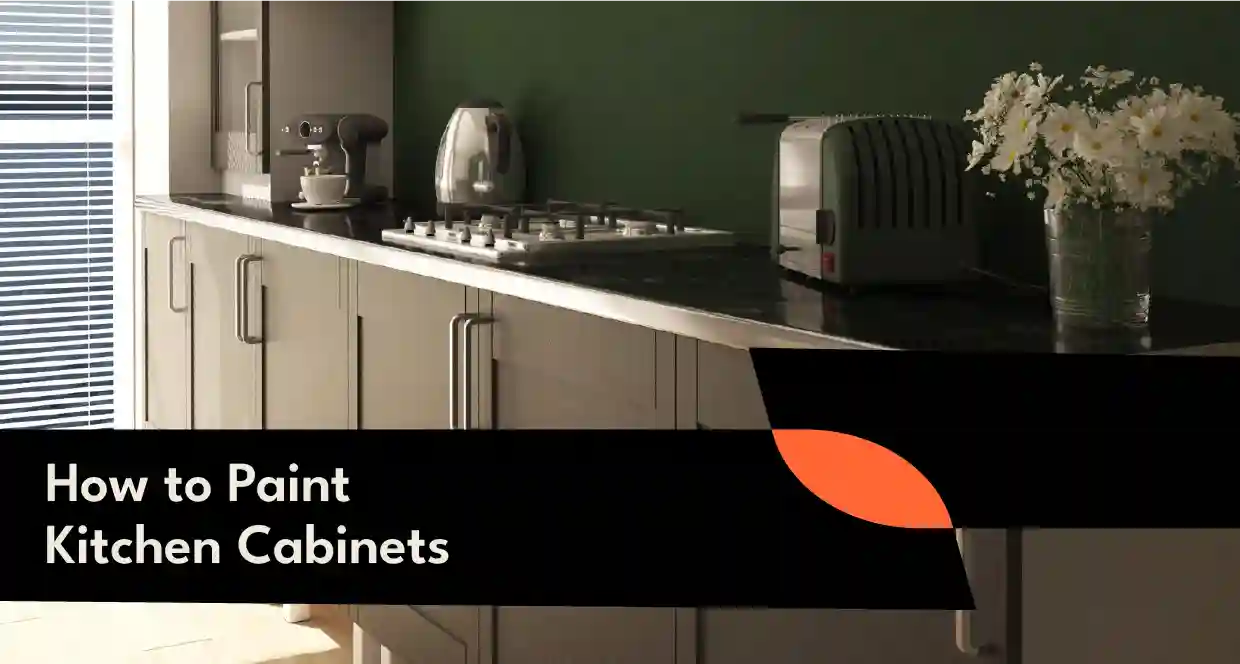
If you want to know how to paint kitchen cabinets, you are in the right place. A fresh coat of paint can turn tired kitchen cupboards into something that looks brand new. You do not need to spend thousands on new cabinets. With the right prep and the right paint, you can update your kitchen in a weekend or two.
This guide covers every step, from cleaning to the final coat. It also covers what to do if you have laminate kitchen cabinets, since these need a slightly different approach. Whether you live in Melbourne or anywhere else, these steps work the same way.
Why paint your kitchen cabinets?
Painting your cabinets is one of the cheapest ways to change the look of your kitchen. A full renovation costs a lot of money and takes weeks. Painting kitchen cabinets, on the other hand, can be done for a fraction of the price.
There are a few good reasons to paint instead of replace. First, it saves money. Second, it saves time. Third, it lets you choose a new colour without tearing anything out. Many homeowners in Melbourne choose to paint their kitchen cabinets because it gives them a modern look without the stress of a full remodel.
If your cabinets are solid wood or MDF and still in good shape, painting is often the smarter option. The bones of the kitchen stay the same. Only the finish changes.
What you’ll need and the best paint for kitchen cabinets
Before you start, gather your tools. Having everything ready saves time and stops you from stopping halfway through the job.
Here is a simple list:
- Screwdriver to remove doors and hardware
- Sandpaper, in medium and fine grit
- Degreaser or soap and warm water
- Painter’s tape
- Drop sheets or old towels
- A good primer
- Paint brushes and a small foam roller
- Your chosen cabinet paint
When it comes to the best paint for kitchen cabinets, look for something labelled as enamel or cabinet paint. These paints dry hard and handle daily wear better than standard wall paint. Satin or semi-gloss finishes work well in kitchens. They resist grease and are easy to wipe clean.
Chalk paint kitchen cabinets are another option if you want a matte, vintage look. Chalk paint needs less prep, but it usually needs a sealant on top to protect it from kitchen moisture and grease.
If all of this sounds like a lot of steps to manage, you do not have to do it alone. Our team handles the full process for you, from prep to final coat. You can check out our Kitchen Painting service if you would rather skip the hard work and get a professional finish.
How to paint kitchen cabinets step by step
Now let’s get into the actual process. Painting kitchen cabinets is not hard, but it does take patience. Rushing any step will show up in the final result.
Step 1: Remove the doors and hardware
Start by taking off all cabinet doors and drawer fronts. Use a screwdriver and keep the screws in a labelled bag for each door. This makes reassembly much easier later.
Also, remove the handles and knobs. If you plan to reuse them, set them aside. If you want a new look, this is a good time to buy replacements.
Step 2: Clean everything
Kitchen cabinets collect grease over time, even if you cannot see it. Use a degreaser or warm soapy water to clean every surface. Wipe down doors, drawers, and the cabinet frames too.
Let everything dry fully before moving to the next step. Skipping this step often leads to paint that peels within months.
Step 3: Sand the surfaces
Light sanding helps the primer stick. You do not need to strip the wood down to bare timber. Just scuff the surface enough so it loses its shine.
Use medium grit sandpaper first, then switch to a finer grit. Wipe away all dust with a damp cloth afterward. According to This Old House’s step-by-step painting guide, thorough cleaning followed by light sanding is usually enough preparation, and full stripping is rarely necessary.
Step 4: Apply primer
Primer is what makes your paint stick and last. Apply a thin, even coat across all surfaces. Let it dry fully before sanding lightly again with fine-grit paper.
This step matters even more if you are painting over a dark colour or a glossy surface.
Step 5: Paint the cabinets
Now for the fun part. Apply your paint in thin, even coats. Use a brush for edges and corners. Use a small foam roller for flat panels to avoid brush marks.
Let each coat dry completely before adding the next. Most cabinets need two coats for full coverage. Some darker colours may need a third.
Step 6: Let everything cure
Painted surfaces need time to cure, not just dry. Even if the paint feels dry to the touch, it can still be soft underneath. Give your cabinets at least 24 hours before you touch them, and ideally two to three days before you close doors or stack items on shelves.
Step 7: Reassemble
Once everything is fully cured, reattach the hardware and rehang the doors. Take your time here so the doors line up evenly.
How to paint laminate or melamine cabinets
Many people ask if you can paint laminate cabinets. The answer is yes, but the process is a little different from painting wood.
Laminate kitchen cabinets have a smooth, non-porous surface. Paint does not stick to this surface easily on its own. That is why prep matters even more here.
To paint laminate kitchen cabinets properly, follow these extra steps:
- Clean thoroughly to remove any grease or residue
- Sand lightly to break the glossy surface
- Use a bonding primer made for laminate or melamine
- Apply at least two coats of a durable cabinet paint
Skipping the bonding primer is the most common mistake. Without it, paint on laminate surfaces tends to chip or peel within a short time. With the right primer, though, painted laminate cabinets can last for years.
Painting vs vinyl wrapping vs replacing
If you are weighing up your options, it helps to compare them side by side.
| Option | Cost | Time Needed | Best For |
| Painting | Low | A few days | Homeowners who want a new look but want to keep existing cabinets |
| Vinyl Wrapping | Medium | A few days | Homeowners who want a sleek finish but not near heat sources |
| Replacing | High | Several weeks | Homeowners who want a new layout or brand-new cabinets |
Painting is the cheapest option in most cases. It keeps your existing cabinet doors and frames. It also gives you full control over colour choice.
Vinyl-wrapped kitchen cabinets are another popular option. This involves covering the surface with a thin vinyl film instead of paint. Vinyl wrapping can look sleek and modern. However, it does not always handle heat well, and it can peel at the edges over time if not applied properly.
Replacing your cabinets entirely gives you the newest look and the most flexibility with layout. But it also comes with the highest cost and the longest timeline. Full replacement often means weeks without a working kitchen.
For most homeowners, painting strikes the best balance. It refreshes the space without the cost or disruption of a full renovation.
How much does it cost to paint kitchen cabinets?
Cost depends on a few factors. These include the size of your kitchen, the number of doors and drawers, the type of paint, and whether you do it yourself or hire a professional.
DIY painting mainly costs you in materials. Paint, primer, brushes, and sandpaper usually add up to a few hundred dollars, depending on your kitchen size.
Hiring a professional costs more upfront, but it often saves time and gives a smoother, more durable finish. Professionals also know how to handle laminate kitchen cabinets and other tricky surfaces without shortcuts.
If you want a clear idea of what your project would cost, the easiest way is to get a quote based on your actual kitchen. You can book an appointment with our team, and we will inspect your kitchen and give you a straightforward price before any work begins.
Frequently asked questions
Can you paint laminate cabinets?
Yes. Clean the surface well, sand lightly, and use a bonding primer made for laminate. This helps the paint stick properly and last longer.
What paint should I use on kitchen cabinets?
Look for enamel or cabinet-specific paint in a satin or semi-gloss finish. These finishes resist grease and are easier to clean than flat wall paint.
How long does it take to paint kitchen cabinets?
Most DIY projects take three to five days. This includes prep, painting, drying time between coats, and reassembly.
Do I need to remove the doors before painting?
Yes. Removing doors and drawers gives you a flat surface to work on. It also leads to a smoother, more even finish than painting in place.
Is chalk paint good for kitchen cabinets?
Chalk paint kitchen cabinets can look great and need less prep work. However, they usually need a protective sealant on top since kitchens deal with grease and moisture daily.
How much does it cost to paint kitchen cabinets professionally?
Cost varies by kitchen size and condition. The best way to know your exact cost is to book a free inspection and quote.
Painting your kitchen cabinets is one of the easiest ways to refresh your space without a full renovation. With the right prep and a bit of patience, you can get a professional-looking finish at home.
If you would rather leave the hard work to the experts, our team is ready to help. Contact us today for a free quote, or call us now to get your kitchen looking new again.